Digitize Logo for Embroidery with Precision: Tips, Tools & Techniques
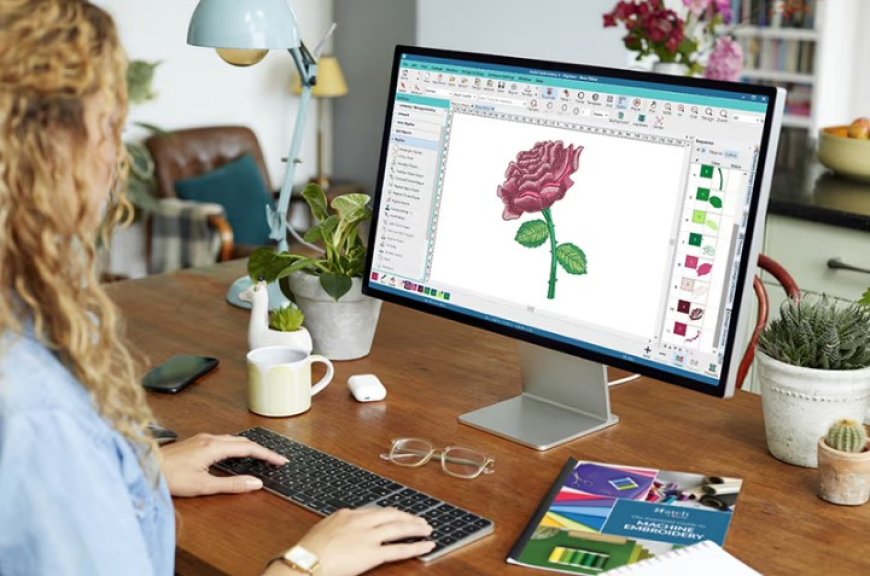
Turning your logo into a clean, professional embroidery design isnt just about uploading a file and pressing go. Whether youre creating hats, shirts, bags, or patches, getting that logo to look crisp, consistent, and stitch-perfect requires one crucial step: digitizing.
In this guide, well walk you through everything you need to know to digitize logo for embroidery with precisioneven if youre just starting out.
Youll learn:
- What logo digitizing actually means
- The best tools to get it done
- Key tips for achieving high-quality stitch-outs
- Common mistakes to avoid
Dont want to deal with complex software? Digitizing Buddy offers fast, affordable, and professional logo digitizing services tailored to your machine type. Just upload your image, and get back a clean, ready-to-stitch file with precision and polish.
What Does It Mean to Digitize a Logo for Embroidery?
Digitizing a logo means converting it from an image format (like JPG or PNG) into a stitch file that your embroidery machine can understand. These stitch files come in formats like:
- PES (Brother, Babylock)
- DST (Tajima, commercial machines)
- JEF (Janome)
- EXP, VP3, and more
The digitized file contains all the technical info your machine needs:
- Stitch type (satin, fill, run)
- Stitch direction and sequence
- Thread color order
- Needle movements and trims
Key Point: Its not just converting a fileits creating a custom blueprint for embroidery.
Why Precision Matters in Logo Digitizing
Your embroidery design is only as good as your digitized file. Without precision:
- Text may be unreadable
- Details can get lost or blurred
- Stitches may be too loose (or too tight)
- The final design may not hold up over time
Thats why even the best embroidery machines cant save a poorly digitized logo.
Best Tools to Digitize Logos for Embroidery
Whether you're DIY-ing or hiring a pro, here are the top options to get your logo digitized accurately.
1. Digitizing Buddy (Highly Recommended for Beginners & Pros)
Digitizing Buddy is a done-for-you service that takes your logo and delivers a high-quality, machine-ready file.
- Upload any format (JPG, PNG, PDF, SVG)
- Receive stitch-ready files (PES, DST, JEF, etc.)
- Get free minor edits
- Turnaround time: 1224 hours
Why it's great: You get expert digitizers handling the process manuallyensuring precision, optimized stitching, and great results the first time.
2. Hatch Embroidery Software
- Platform: Windows
- Paid (Free trial available)
- Level: Intermediate to advanced
This powerful software offers advanced control over stitch types, direction, density, and layers. It's ideal if you want to learn digitizing from the ground up.
3. SewArt
- Platform: Windows
- ~$75 (Free trial available)
- Level: Beginner-friendly
Offers auto-digitizing features with basic editing options. Great for hobbyists and those on a budget.
4. Ink/Stitch (Free & Open Source)
- Platform: Windows, Mac, Linux
- 100% Free
- Level: Intermediate (requires Inkscape)
A plugin for Inkscape that allows you to convert vector artwork into embroidery files. Powerful if you know your way around graphics.
Key Elements of Precise Logo Digitizing
Heres what goes into a well-digitized logo:
1. Clean Input Artwork
Use high-quality files:
- Vector (SVG, AI, EPS) preferred
- PNG with transparent background (300 DPI)
- Avoid screenshots or blurry JPGs
Simplify your logo:
- Remove gradients, shadows, and extra colors
- Stick to bold lines and solid fills
- Use clear, readable fonts (minimum 0.25 inches in height)
2. Stitch Type Selection
|
Logo Element |
Best Stitch Type |
|
Bold text |
Satin Stitch |
|
Small text |
Run Stitch |
|
Filled shapes |
Tatami/Fill Stitch |
|
Outlines |
Satin or Run Stitch |
Using the wrong stitch type can cause fraying, gaps, or bulky designs.
3. Adjust Stitch Density
Too dense? Your fabric puckers.
Too loose? The design looks incomplete.
Ideal density varies by fabric and stitch type. A pro digitizer adjusts density based on:
- Stitch type
- Fabric thickness
- Design size
4. Proper Underlay and Stabilization
Underlay stitches create a base for the top layer. They help:
- Anchor the design
- Avoid shifting
- Prevent fabric stretching or distortion
Types include:
- Edge Run
- Zigzag
- Fill underlay for large areas
Your digitizing software (or professional digitizer) will choose whats best for your fabric.
5. Machine and Hoop Compatibility
Make sure your file format matches your machine:
- Brother: PES
- Janome: JEF
- Bernina: EXP
- Tajima/Commercial: DST
Also, scale your design for the hoop size to avoid resizing issues on the machine.
Common Mistakes in Logo Digitizing
|
Mistake |
Result |
|
Using low-res images |
Blurry or inaccurate stitch paths |
|
Auto-digitizing without cleanup |
Poor text and messy edges |
|
Ignoring fabric type |
Puckering or poor coverage |
|
Resizing stitch files after digitizing |
Messed-up density and alignment |
|
Not testing the design |
Wasted fabric, threads, and time |
Pro Tip: Always do a test stitch-out on a similar fabric before mass production.
Extra Tips for Sharp, Professional Results
- Use bold fonts and avoid script for small text
- Limit colors to reduce thread changes
- For hats, digitize from center out to maintain balance
- Use topping stabilizer for textured fabrics like fleece or towels
- Add push and pull compensation for stretchy materials
Frequently Asked Questions
Can I digitize my logo in Photoshop or Illustrator?
No. These tools cant create stitch files. You need embroidery-specific software or a digitizing service.
Whats the best file format to submit my logo for digitizing?
High-resolution PNG, SVG, or vector files (AI, EPS) work best.
What format should I request for my embroidery machine?
Check your machine manual. Common options:
- Brother/Babylock PES
- Janome JEF
- Bernina EXP
- Tajima DST
How long does it take to digitize a logo professionally?
Digitizing Buddy typically delivers within 1224 hours, depending on complexity.
Final Thoughts: Stitch Quality Starts with Smart Digitizing
Digitizing your logo is the most important step in the embroidery process. If you get it wrong, even the best embroidery machine cant save the final product.
But if you get it right? You'll enjoy crisp edges, smooth fills, and flawless text that lasts wash after wash.


